VBGamer
Using Zip Files In VB Part 1Creating A New DLLThe first step is to create simple DLL project in VC++. From the File menu, click New to create a new project. In the projects list select Win32 Dynamic-Link Library. You'll also need to specify a project name and a file path for where your files will be created. For the project name I used "vbgamerzip." You can name your project whatever you want, but the project name you pick will be used to name your default .cpp file, so when I reference the "vbgamerzip.cpp" later in this tutorial, make sure you know that I'm talking about the file that's created by default. Here is ascreenshot of the New dialog box. 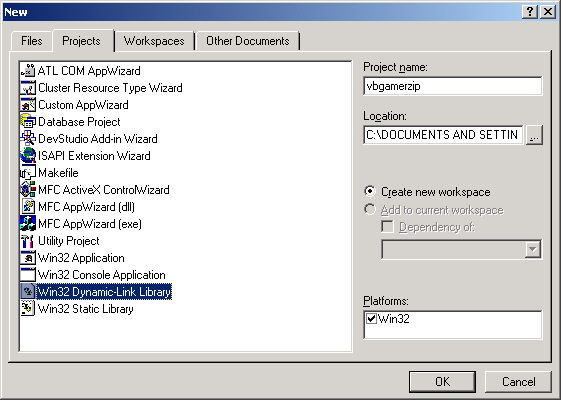 After you click "OK", the next window should be displayed. Select "A simple DLL project" and then click Finish. 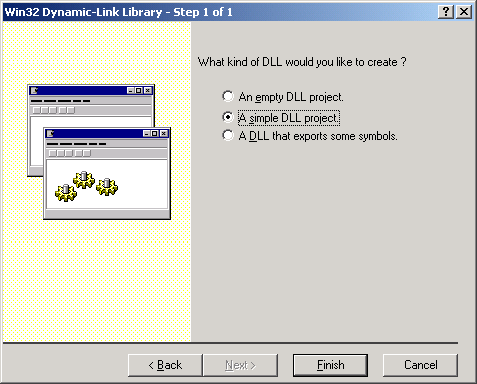 After you click finish, your project should have 4 files created for you automatically. In the workspace section click on the "FileView" tab to view your files. If you don't see it, press Alt+0 (number zero). It should look like this: 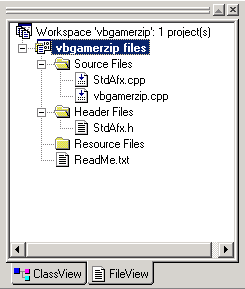 Next: Project Settings | 1 | 2 | 3 | 4 | 5 | 6 | 7 | 8 2 comments |
|